Ads

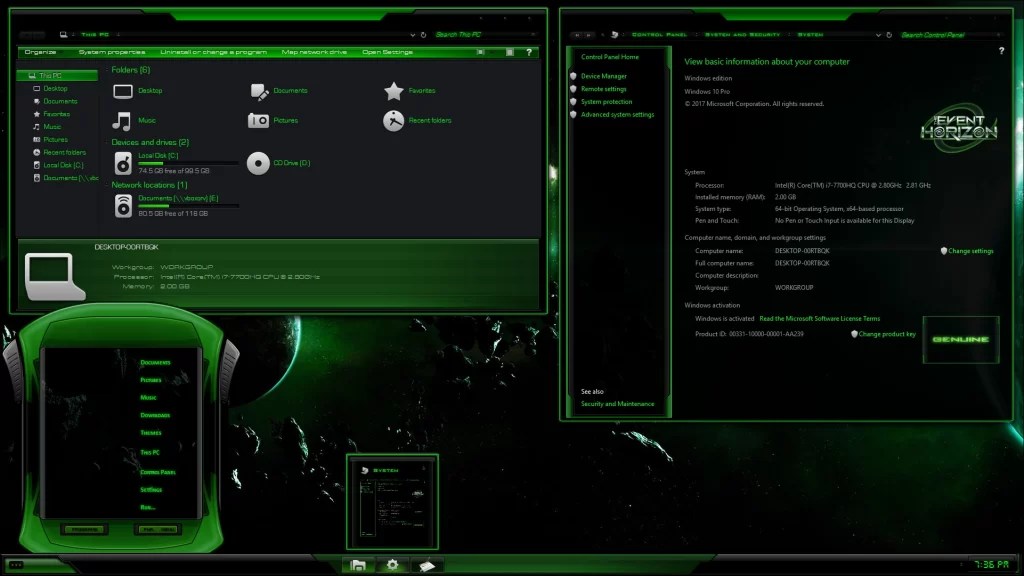
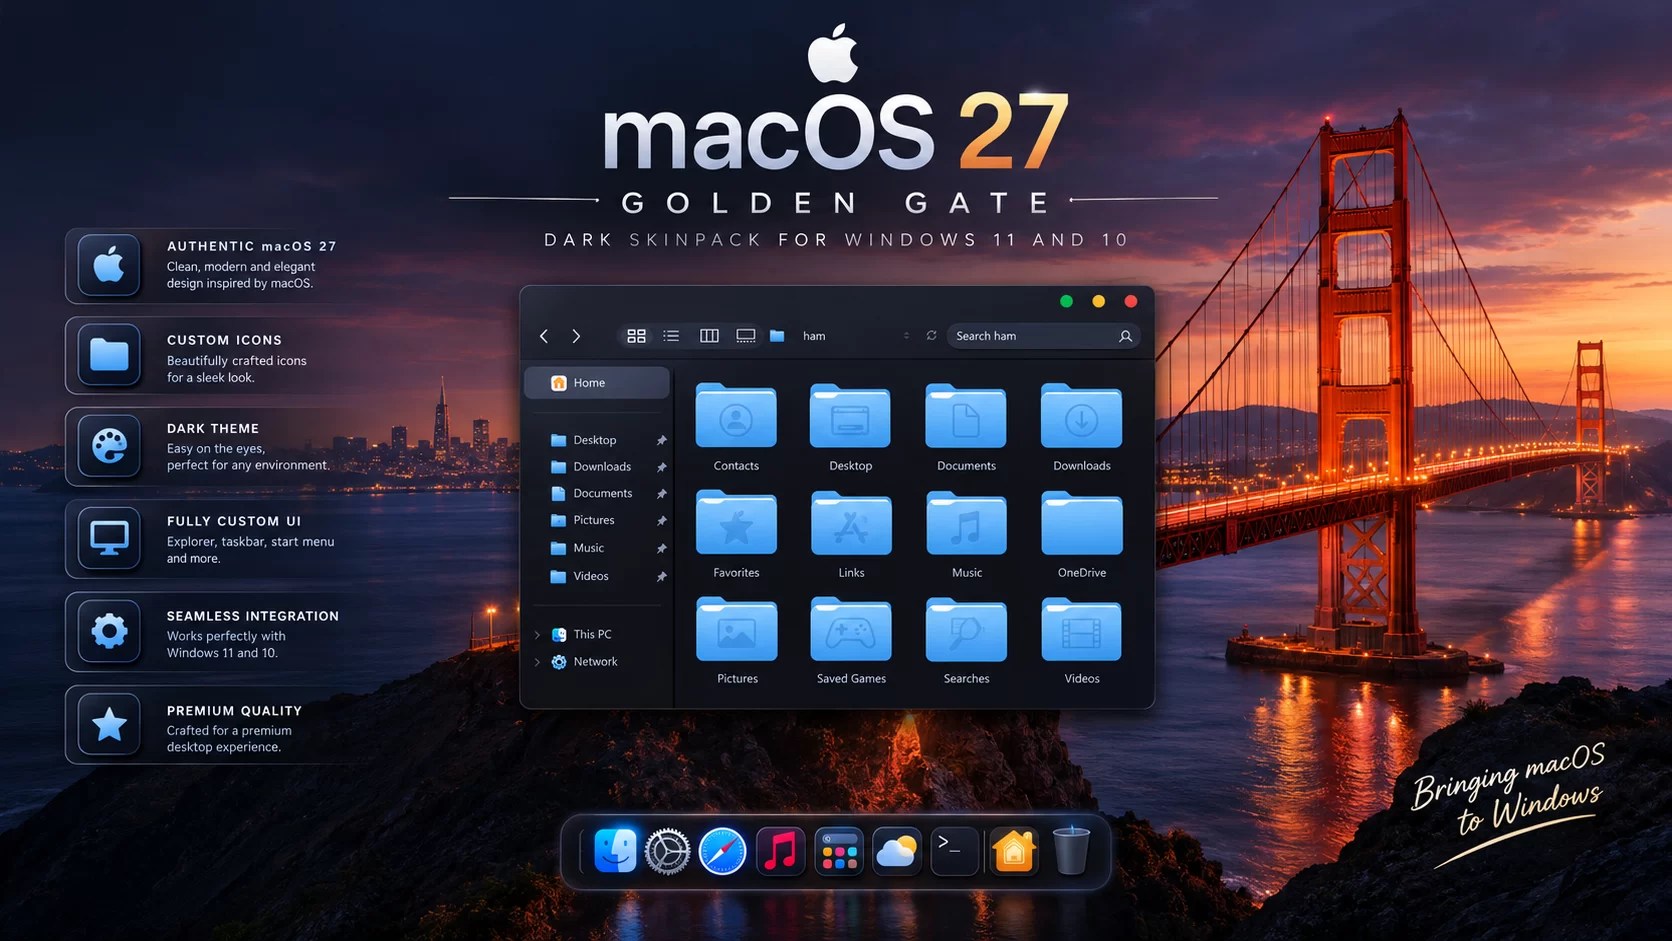
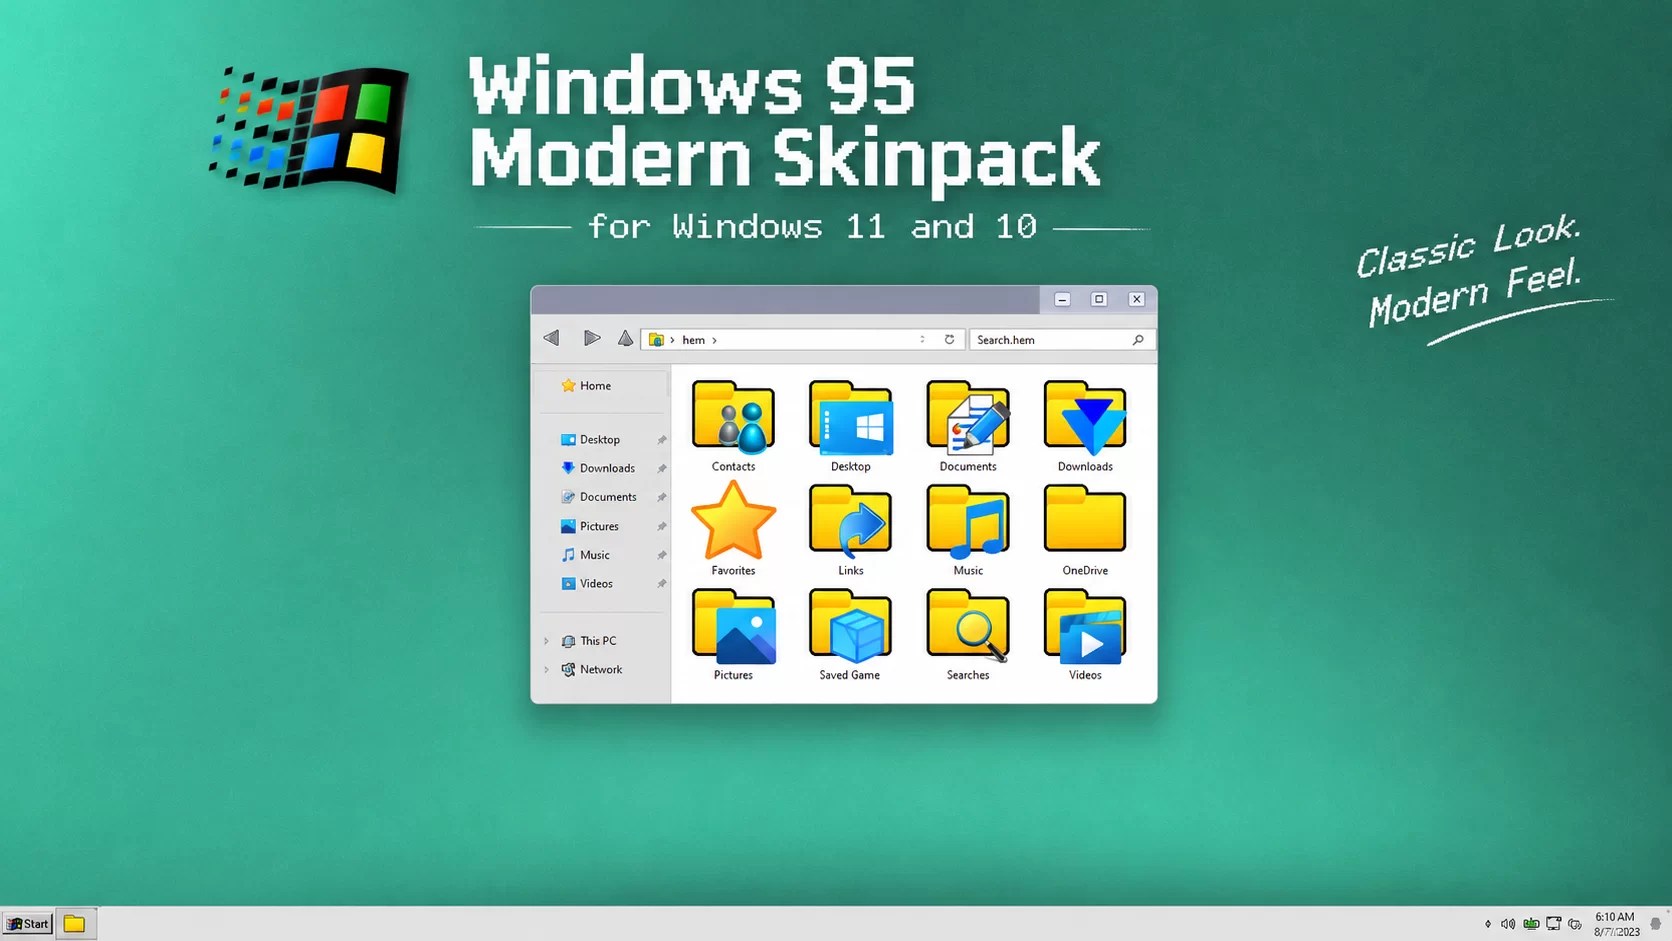
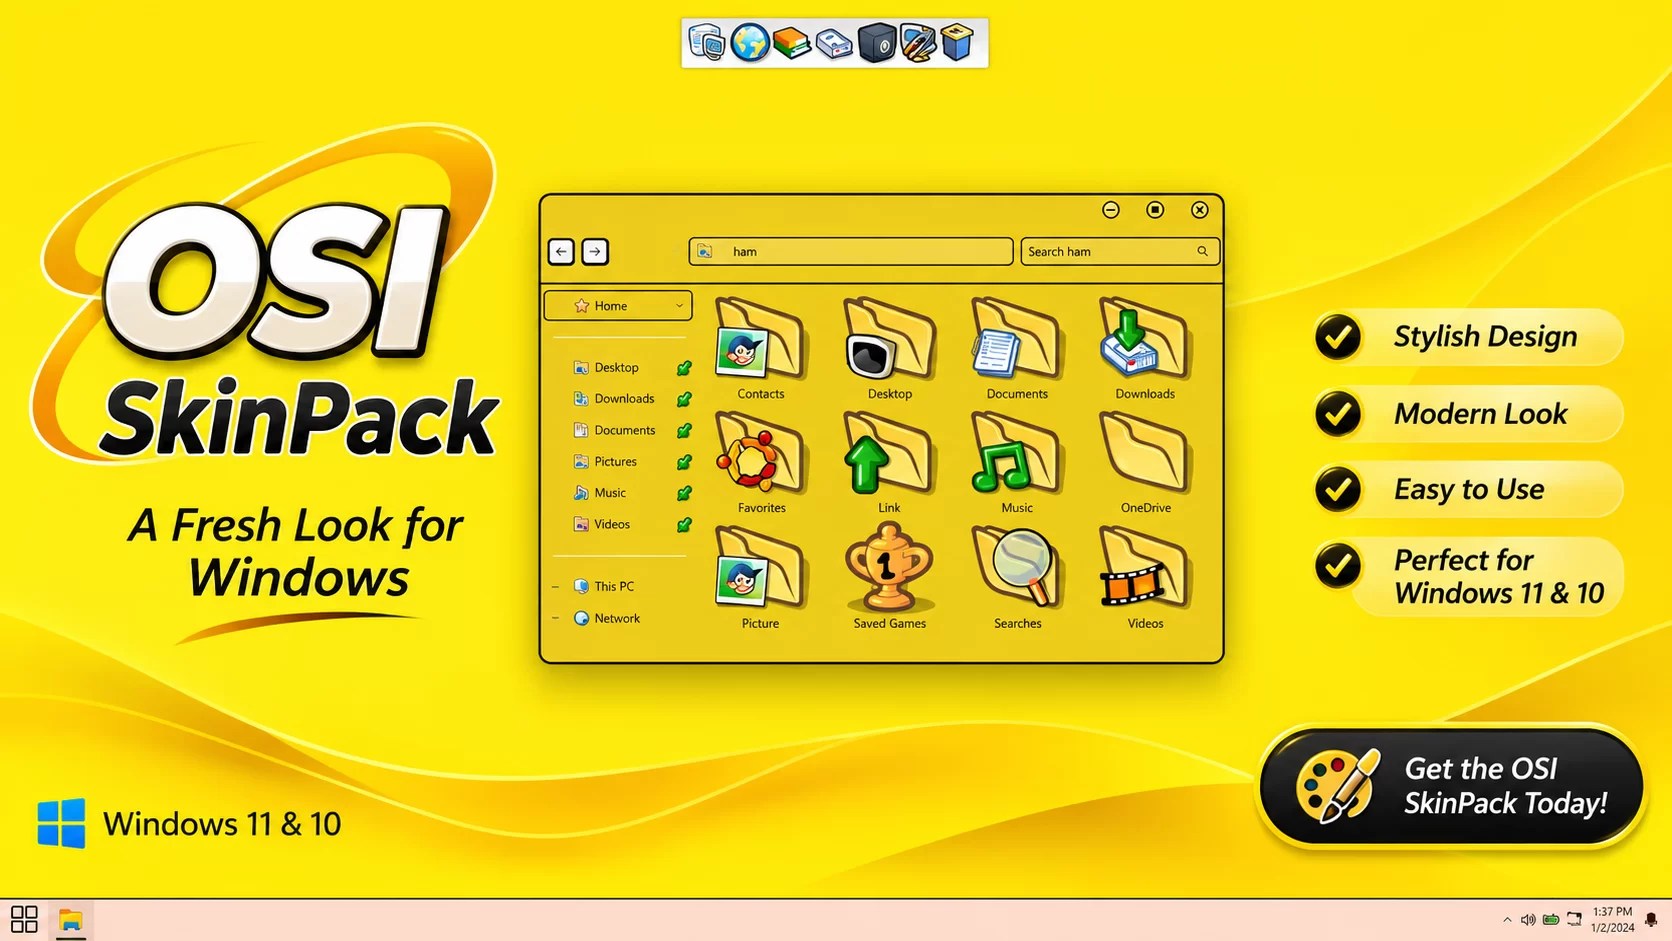
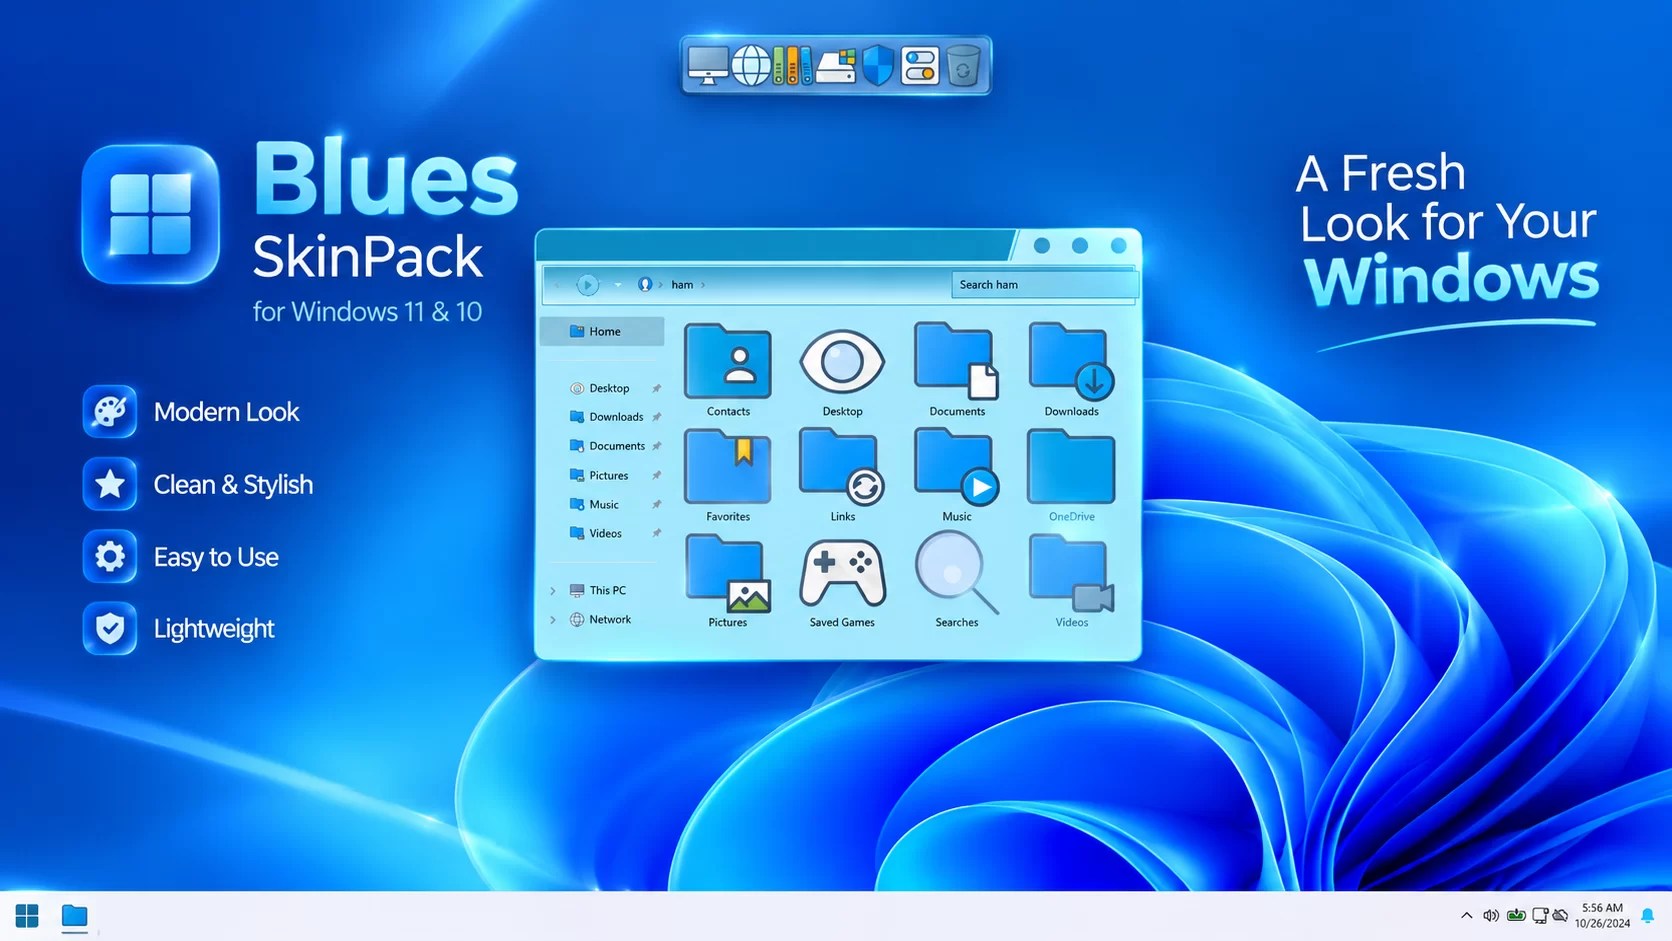
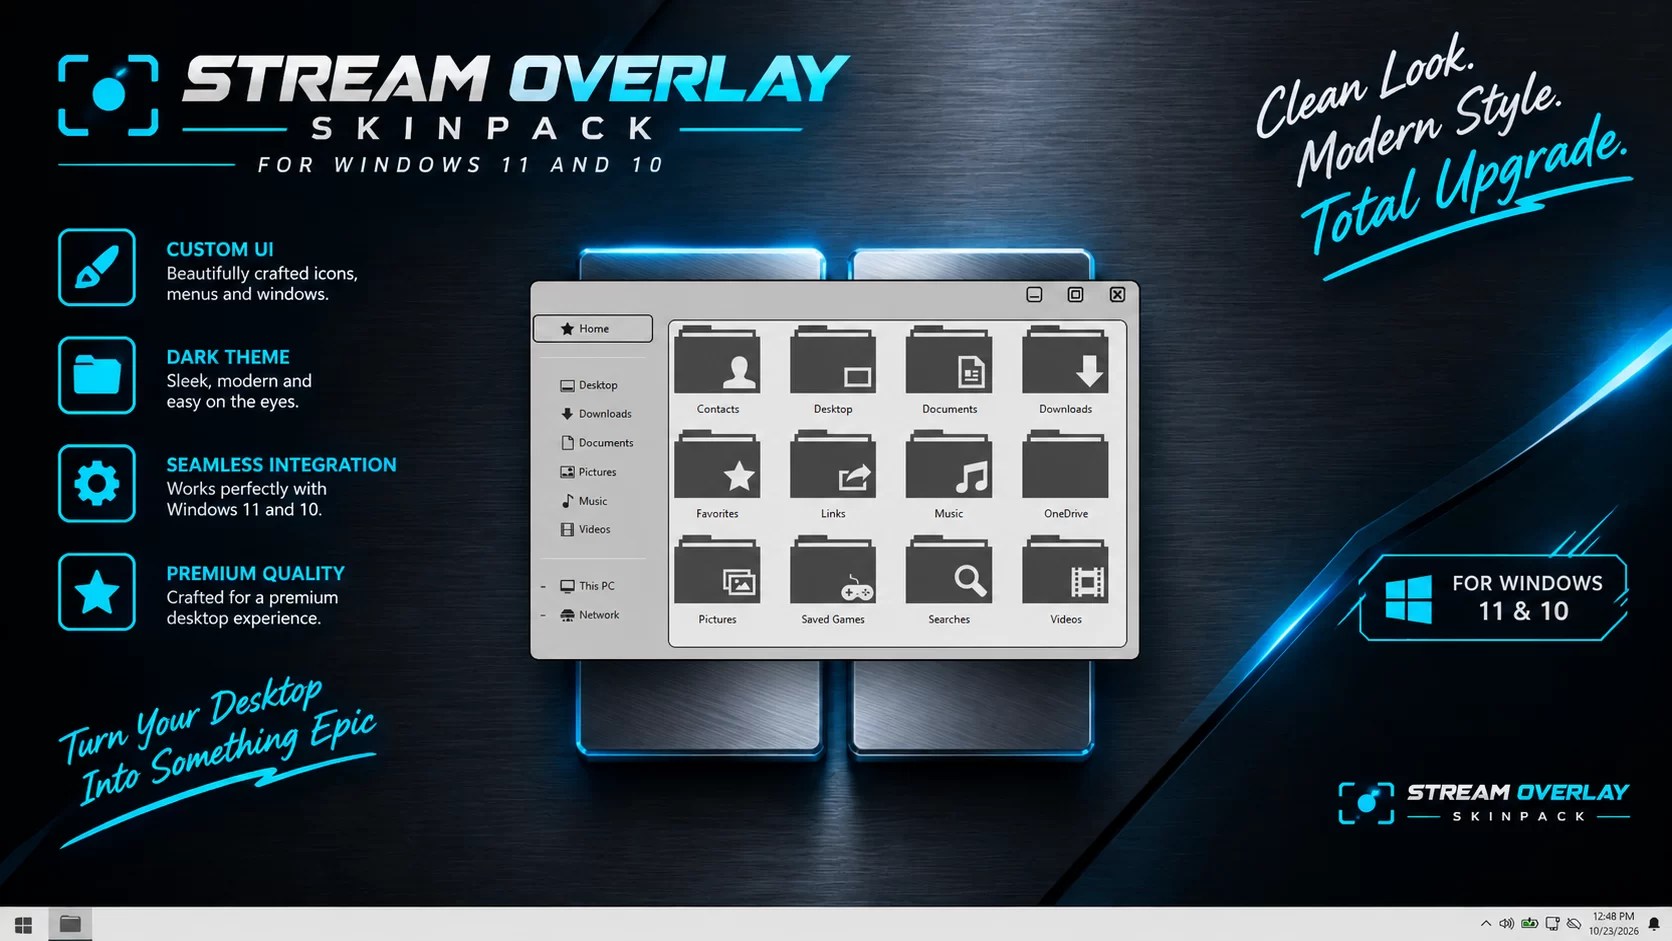
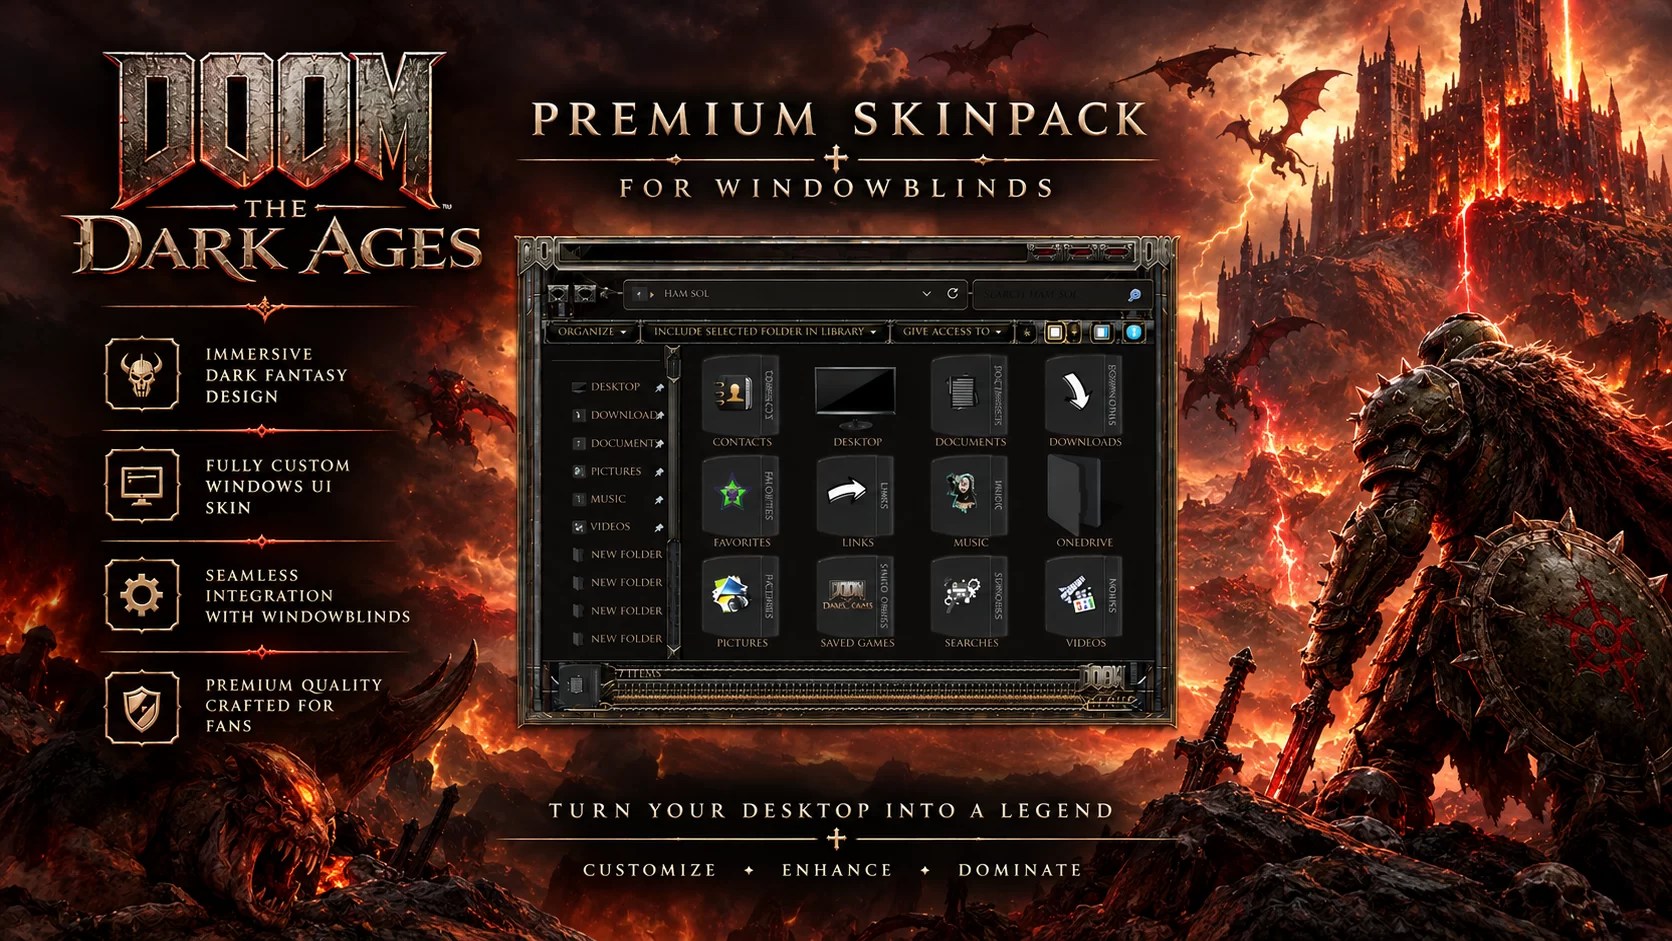
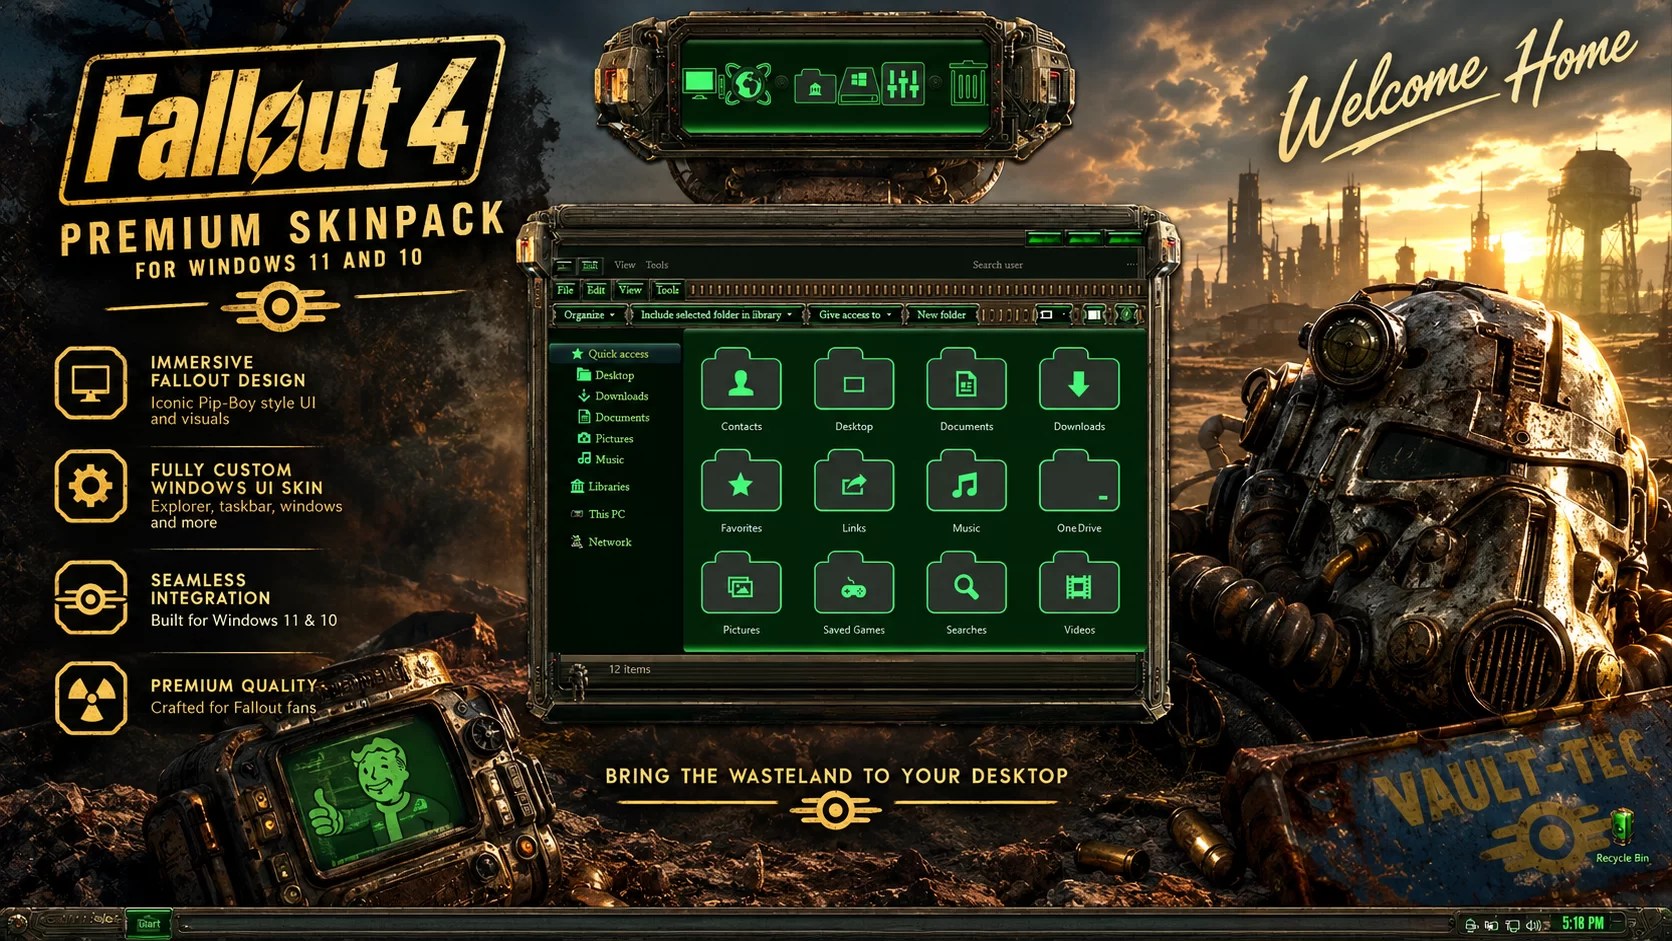
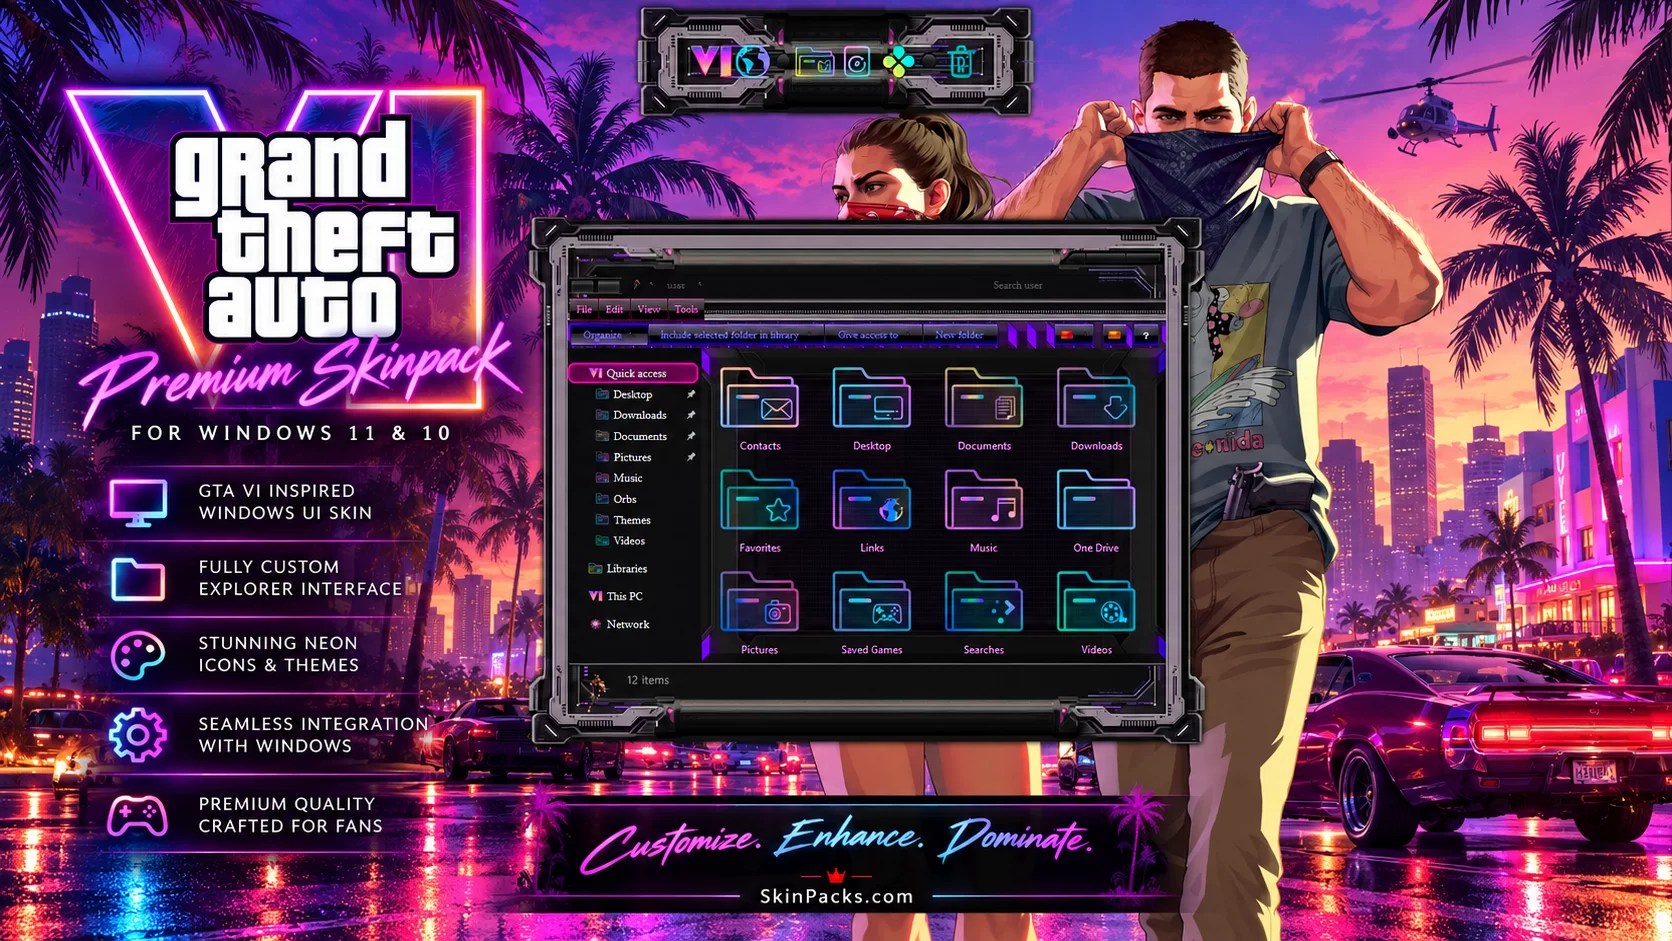
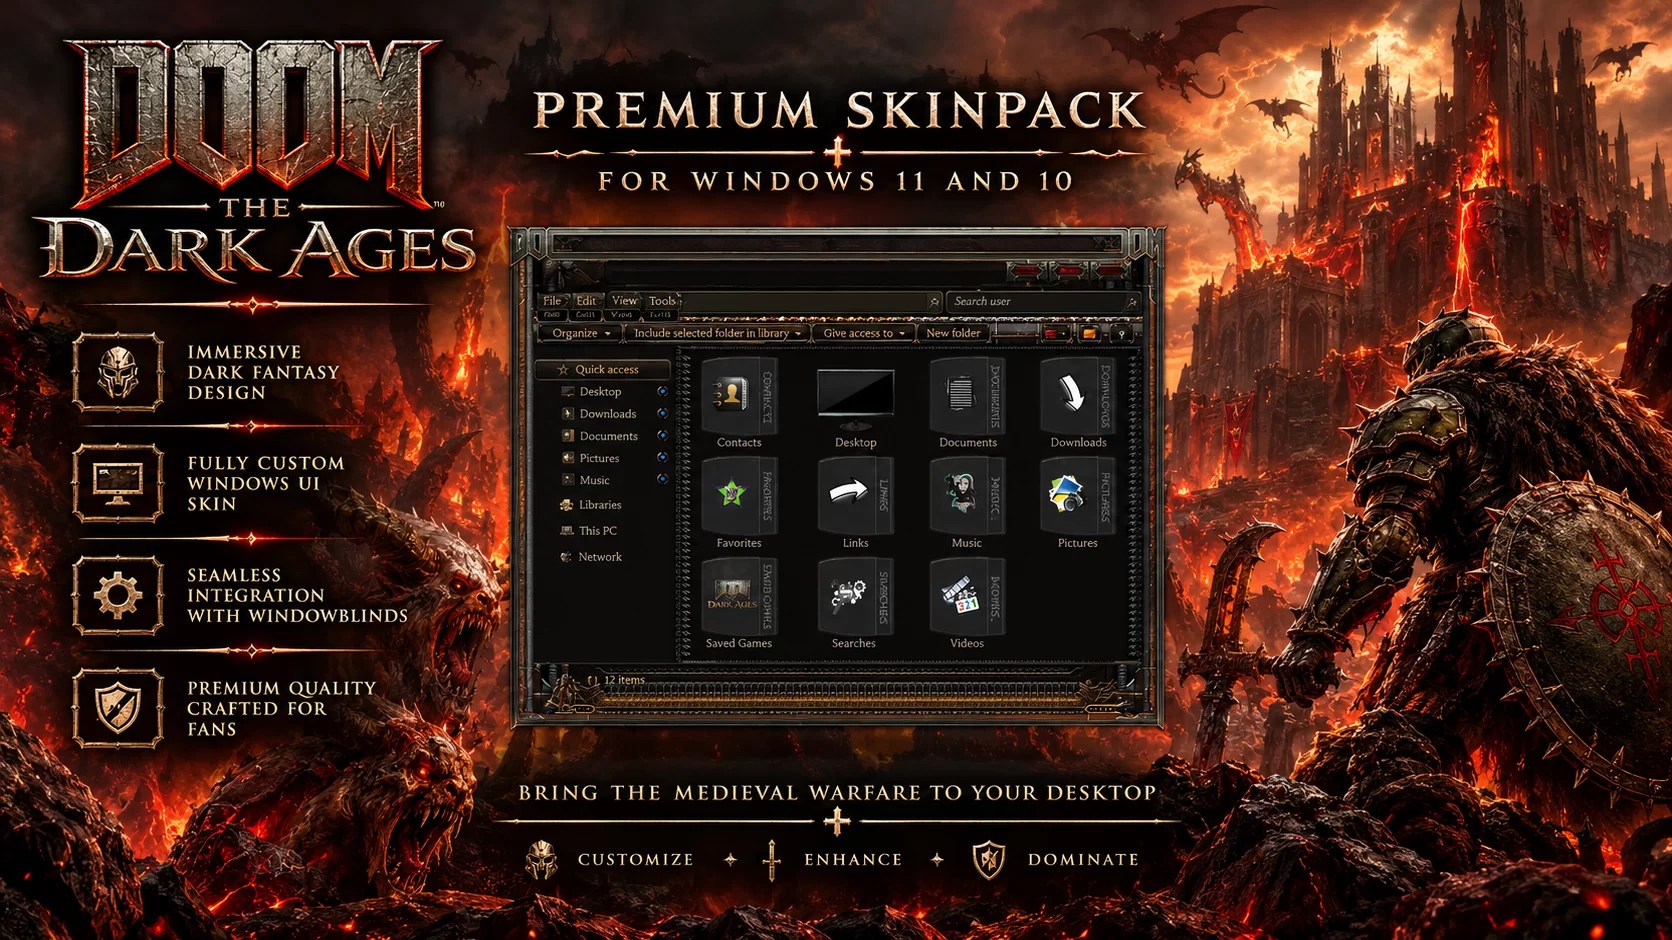
Want to give your Windows desktop a completely new look? SkinPacks make it easy to transform the appearance of Windows with coordinated themes, icons, wallpapers, visual styles, and other customization elements.
Whether you want an macOS-inspired desktop, a modern minimalist design, or a gaming-inspired Windows experience, SkinPacks help you personalize your PC.
In this guide, we’ll explain how to download, install, apply, customize, and uninstall a SkinPack on Windows 11 and Windows 10.
What Is a SkinPack?
A SkinPack is a Windows customization package designed to change the appearance of your desktop.
Depending on the SkinPack, it may include:
- Custom Windows themes and visual styles
- Desktop icons and folder icons
- Wallpapers and backgrounds
- Custom cursors
- Window appearance and interface elements
- Additional customization tools
Each SkinPack has its own features and system requirements. Check the individual download page to see exactly what’s included and which Windows versions are supported.
1. Check Your Windows Compatibility
Before installing a SkinPack, make sure it supports your version of Windows.
- Press Windows + R on your keyboard.
- Type
winverand press Enter. - Check your Windows version and build number.
- Visit the SkinPack download page and review its compatibility information.
Some SkinPacks are designed specifically for Windows 11, while others support Windows 10 or multiple Windows versions.
Important: Always download the version designed for your operating system.
2. Create a System Restore Point
Before installing a complete desktop customization package, creating a System Restore Point is recommended.
This gives you an additional recovery option if Windows experiences problems after customization.
Follow these steps:
- Open the Windows Start menu.
- Search for Create a restore point.
- Open System Properties.
- Select your Windows system drive.
- Click Configure and enable system protection if necessary.
- Click Create.
- Enter a name such as Before SkinPack Installation.
- Wait for Windows to finish creating the restore point.
You can now continue with the installation.
3. Download Your Favorite SkinPack
Visit Skinpack download Page and browse the available Windows themes.
- Choose a SkinPack that you like.
- Open its download page.
- Read the description and supported Windows versions.
- Review the available features and installation requirements.
- Download the appropriate package.
Always download SkinPacks from the official Skinpacks website to make sure you get the intended files and latest available version.
4. Install the SkinPack
The installation process depends on the package you downloaded.
For SkinPacks that include an installer:
- Locate the downloaded file.
- Extract the archive if necessary using 7-Zip.
- Open the extracted folder.
- Follow the instructions provided with that specific SkinPack.
- Complete the installation process.
- Restart Windows if requested.
Some packages also provide a portable version or alternative installation method. Use these only when they are explicitly included in the official download.
Security note: Keep Windows Security and your antivirus protection enabled. If your security software displays a warning or blocks an installer, stop and review the detection before proceeding. Never bypass security warnings or disable protection just to install a theme.
5. Apply the New Windows Theme
After installing a SkinPack, you may need to select its visual style manually.
- Right-click an empty area of your desktop.
- Select Personalize.
- Open the Themes section.
- Find the newly installed theme.
- Select it to apply the new appearance.
Depending on your SkinPack, you may need to restart Windows before all visual changes become visible.
If the theme does not appear correctly, check the installation instructions and compatibility information on the SkinPack download page.
6. Customize Your Desktop
Once your SkinPack is installed, you can further personalize your desktop.
Depending on the package, you may be able to customize:
- Desktop wallpaper
- Windows colors and appearance
- Desktop and folder icons
- Mouse cursors
- Window visual styles
- Taskbar and Start menu appearance
Some advanced customizations require additional third-party software. Check the SkinPack description for the tools and requirements associated with your selected theme.
Note: Not every Windows application supports third-party visual styles. Modern Windows applications may retain their original appearance even after installing a SkinPack.
7. How to Uninstall a SkinPack
If you want to return to the original Windows appearance or try another SkinPack, you should uninstall the current package first.
Follow these steps:
- Open Windows Settings.
- Go to Apps → Installed apps (or Apps & Features on older Windows versions).
- Find the installed SkinPack or its associated uninstaller.
- Select Uninstall.
- Follow the removal instructions.
- Restart your computer if requested.
- Open Settings → Personalization → Themes.
- Select the default Windows theme.
Some SkinPacks include a dedicated uninstaller in their installation folder. If so, follow the instructions provided with that package.
8. Troubleshooting Common SkinPack Problems
Here are some common issues and possible solutions.
The SkinPack Installed but the Theme Didn’t Change
Check whether the package requires a supported third-party theme patching tool or an additional installation step.
Also, open Settings → Personalization → Themes and check whether the new theme is available.
Some Icons Didn’t Change
Windows may retain cached icons or icons managed by other customization applications.
Try restarting Windows and checking whether another icon customization program is overriding the SkinPack.
The Taskbar or Start Menu Looks Different
Some SkinPacks require additional software to customize the Start menu and taskbar.
Check the individual download page for the required tools and compatibility information.
Windows Shows a Security Warning
Some customization packages modify Windows appearance resources, which can cause security software to display warnings.
Do not assume that a detection is harmless. Keep your security protection enabled and contact Skinpacks with the detection name and package version for assistance.
Windows Explorer Doesn’t Look Normal After Uninstallation
First, select the default Windows theme under Settings → Personalization → Themes.
If problems continue, use Windows recovery options or contact Skinpacks support for assistance.
Frequently Asked Questions
Are SkinPacks compatible with Windows 11?
Some SkinPacks support Windows 11, while others are designed for Windows 10 or older versions. Always check the compatibility information on the download page.
Can I install multiple SkinPacks?
You can download multiple SkinPacks, but installing different system-level customization packages together may cause conflicts. We recommend uninstalling your previous SkinPack before installing another one.
Do SkinPacks change Windows system files?
Some SkinPacks use customization methods that modify Windows system resources, while others use alternative methods. Check the description of the specific package before installation.
Can I restore the original Windows appearance?
Yes. Uninstall the SkinPack using its supplied removal method, restart your PC if required, and select the default Windows theme.
Do SkinPacks work on 32-bit and 64-bit Windows?
Compatibility depends on the individual package. Some older SkinPacks offer separate x86 and x64 versions, while newer packages may support only 64-bit Windows.
Where can I download SkinPacks?
You can explore available Windows themes, transformation packs, and desktop customization packages at Skinpacks.com.
Final Words
SkinPacks provide an easy way to give your Windows desktop a fresh and personalized appearance. From changing icons and wallpapers to transforming the overall look of Windows, there are many ways to make your PC feel unique.
Remember to check compatibility, create a System Restore Point, and follow the installation instructions for each package.
Ready to transform your desktop?
Explore the latest Windows 11 and Windows 10 SkinPacks at Skinpacks.com and discover a new way to customize your Windows experience.