Ads
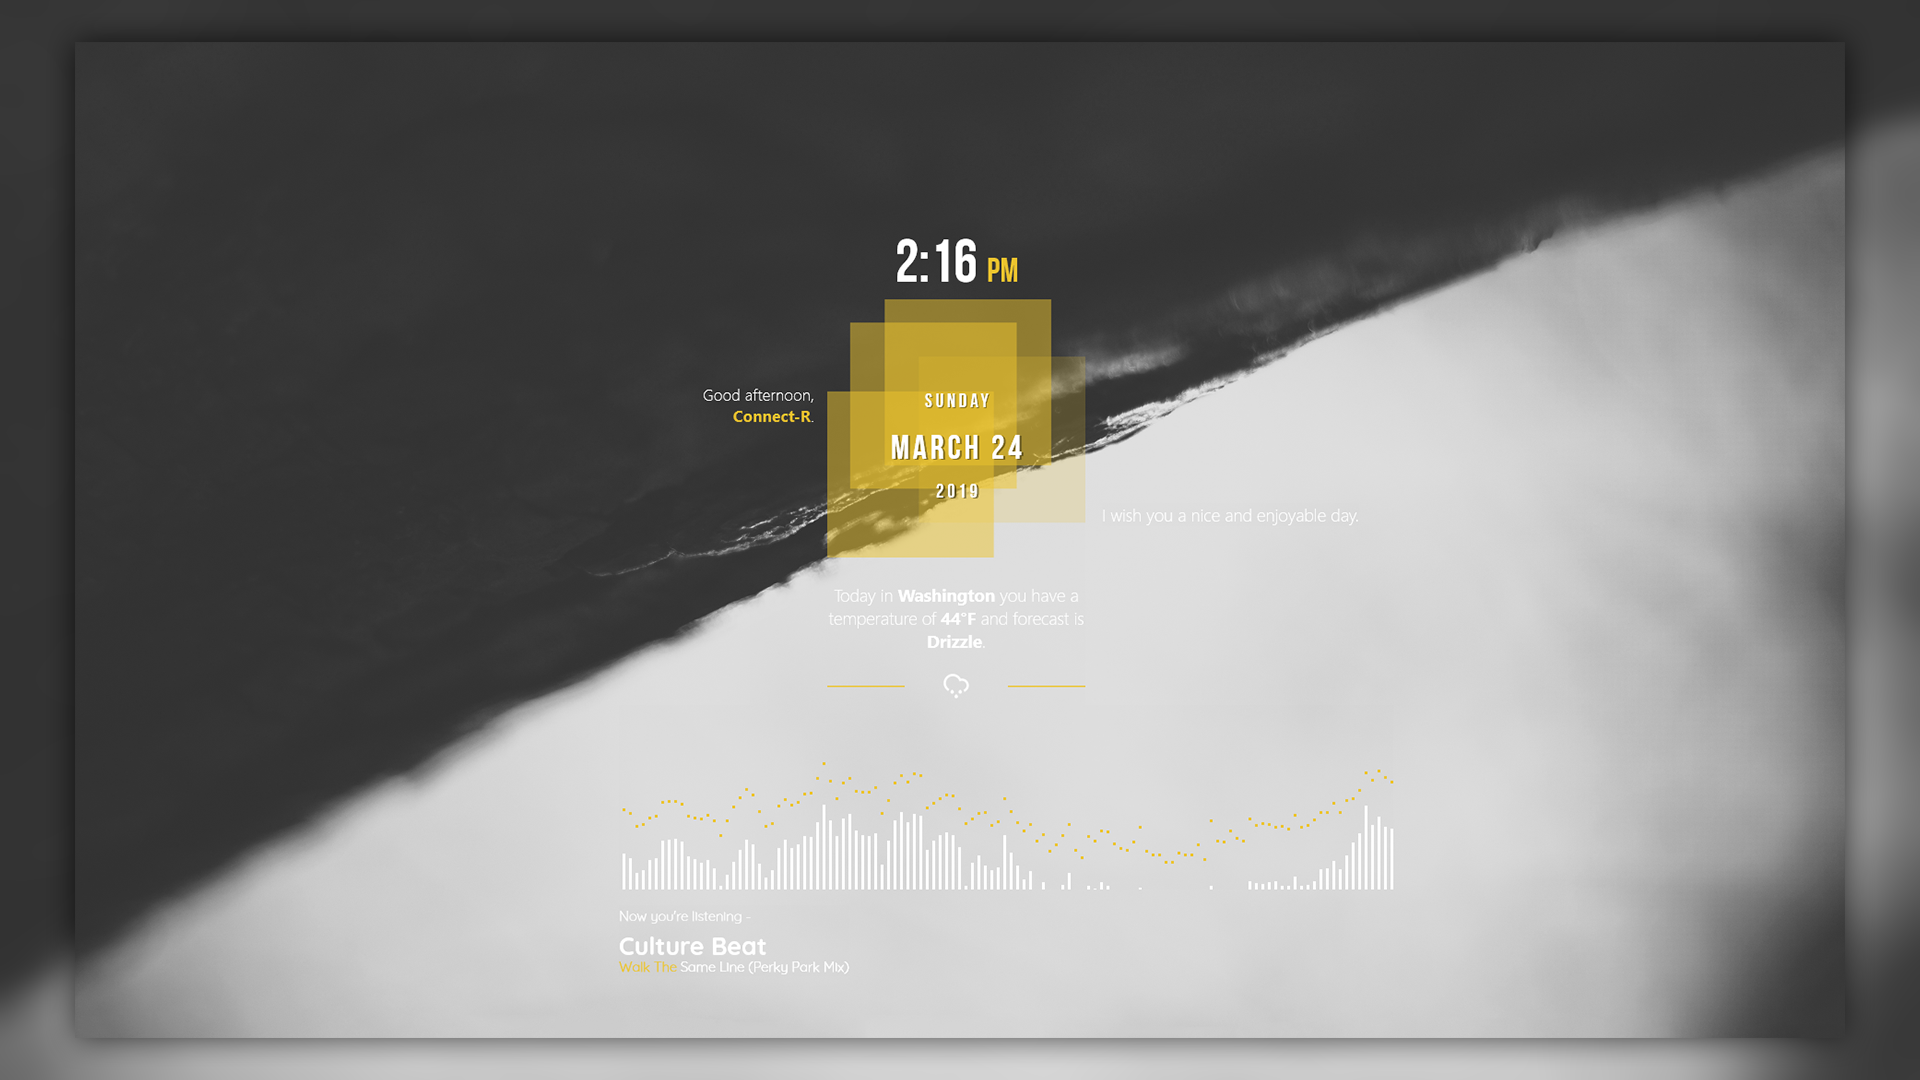
Give your Windows desktop a personalized look with the Nexa Rainmeter skin. Nexa is available as a Rainmeter skin package that you can install and load on your desktop. Check the preview below, then download the original .rmskin file and follow the setup instructions.
Nexa Rainmeter Skin Preview
Download Nexa for Rainmeter
Use the download button below to get the original Nexa .rmskin package. Rainmeter must be installed before you can apply this skin.
How to Install the Nexa Rainmeter Skin
Before you start: Consider creating a Windows System Restore point.
- Install Rainmeter if it is not already installed.
- Download the Nexa
.rmskinpackage using the button on this page. - Double-click the downloaded file, or right-click it and select Install.
- Open Rainmeter after the installer finishes. If Rainmeter was already running and Nexa does not appear, restart or refresh it.
- Open Rainmeter’s Manage window from its notification-area icon.
- Find Nexa in the skin list, select the appropriate
.inifile, and click Load.
If a Rainmeter skin is supplied as an unpacked folder instead of an .rmskin installer, move the complete folder into Documents\Rainmeter\Skins, refresh Rainmeter, and load its .ini file from Manage.
Frequently Asked Questions
What is Nexa for Rainmeter?
Nexa is a desktop skin package designed to be used with the Rainmeter customization application.
Do I need Rainmeter to use Nexa?
Yes. Install Rainmeter first, then install the Nexa package and load the skin from Rainmeter’s Manage window.
How do I apply Nexa after downloading it?
Open the .rmskin file to install it. Then open Rainmeter Manage, select Nexa’s .ini file, and click Load.
Where can I get the Nexa download?
The original .rmskin package is available through the download button on this page.